
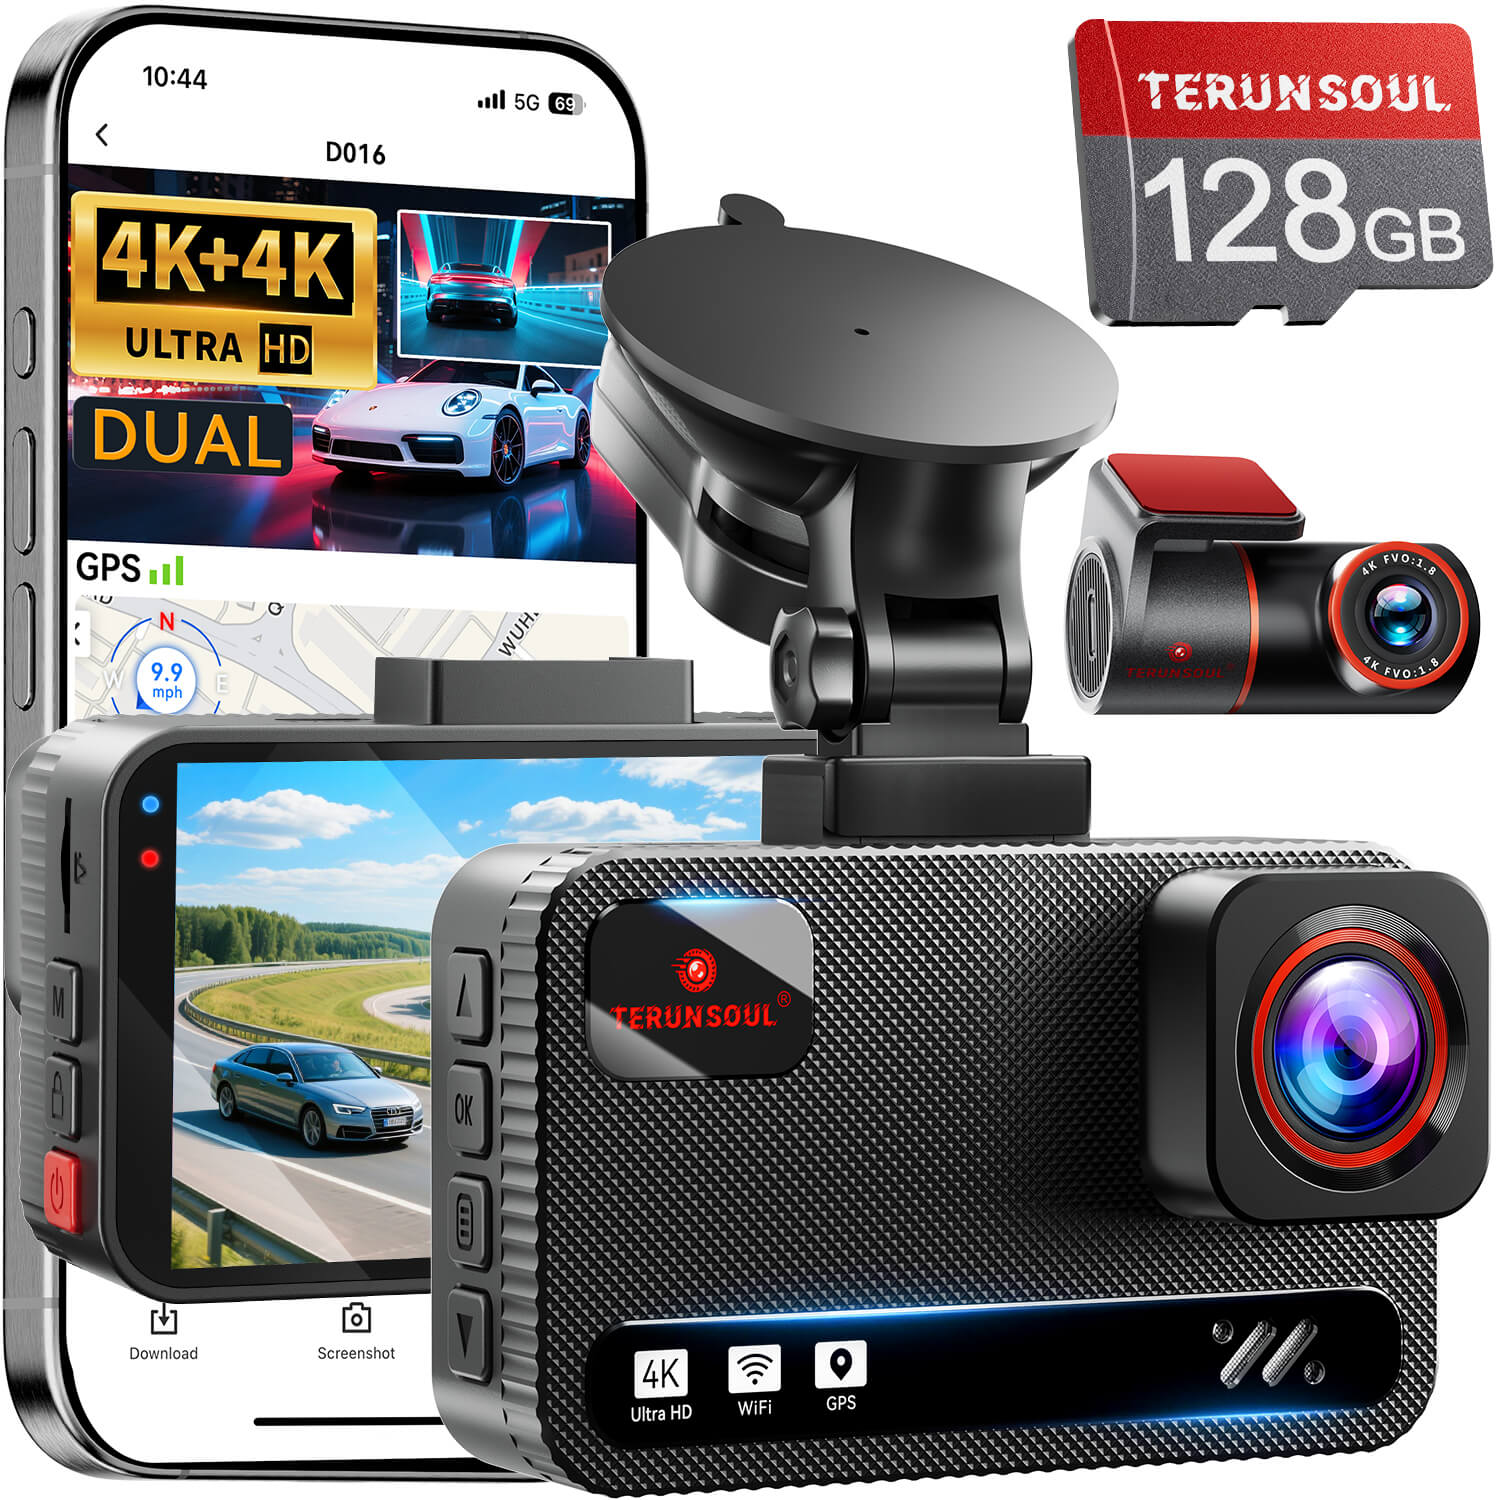
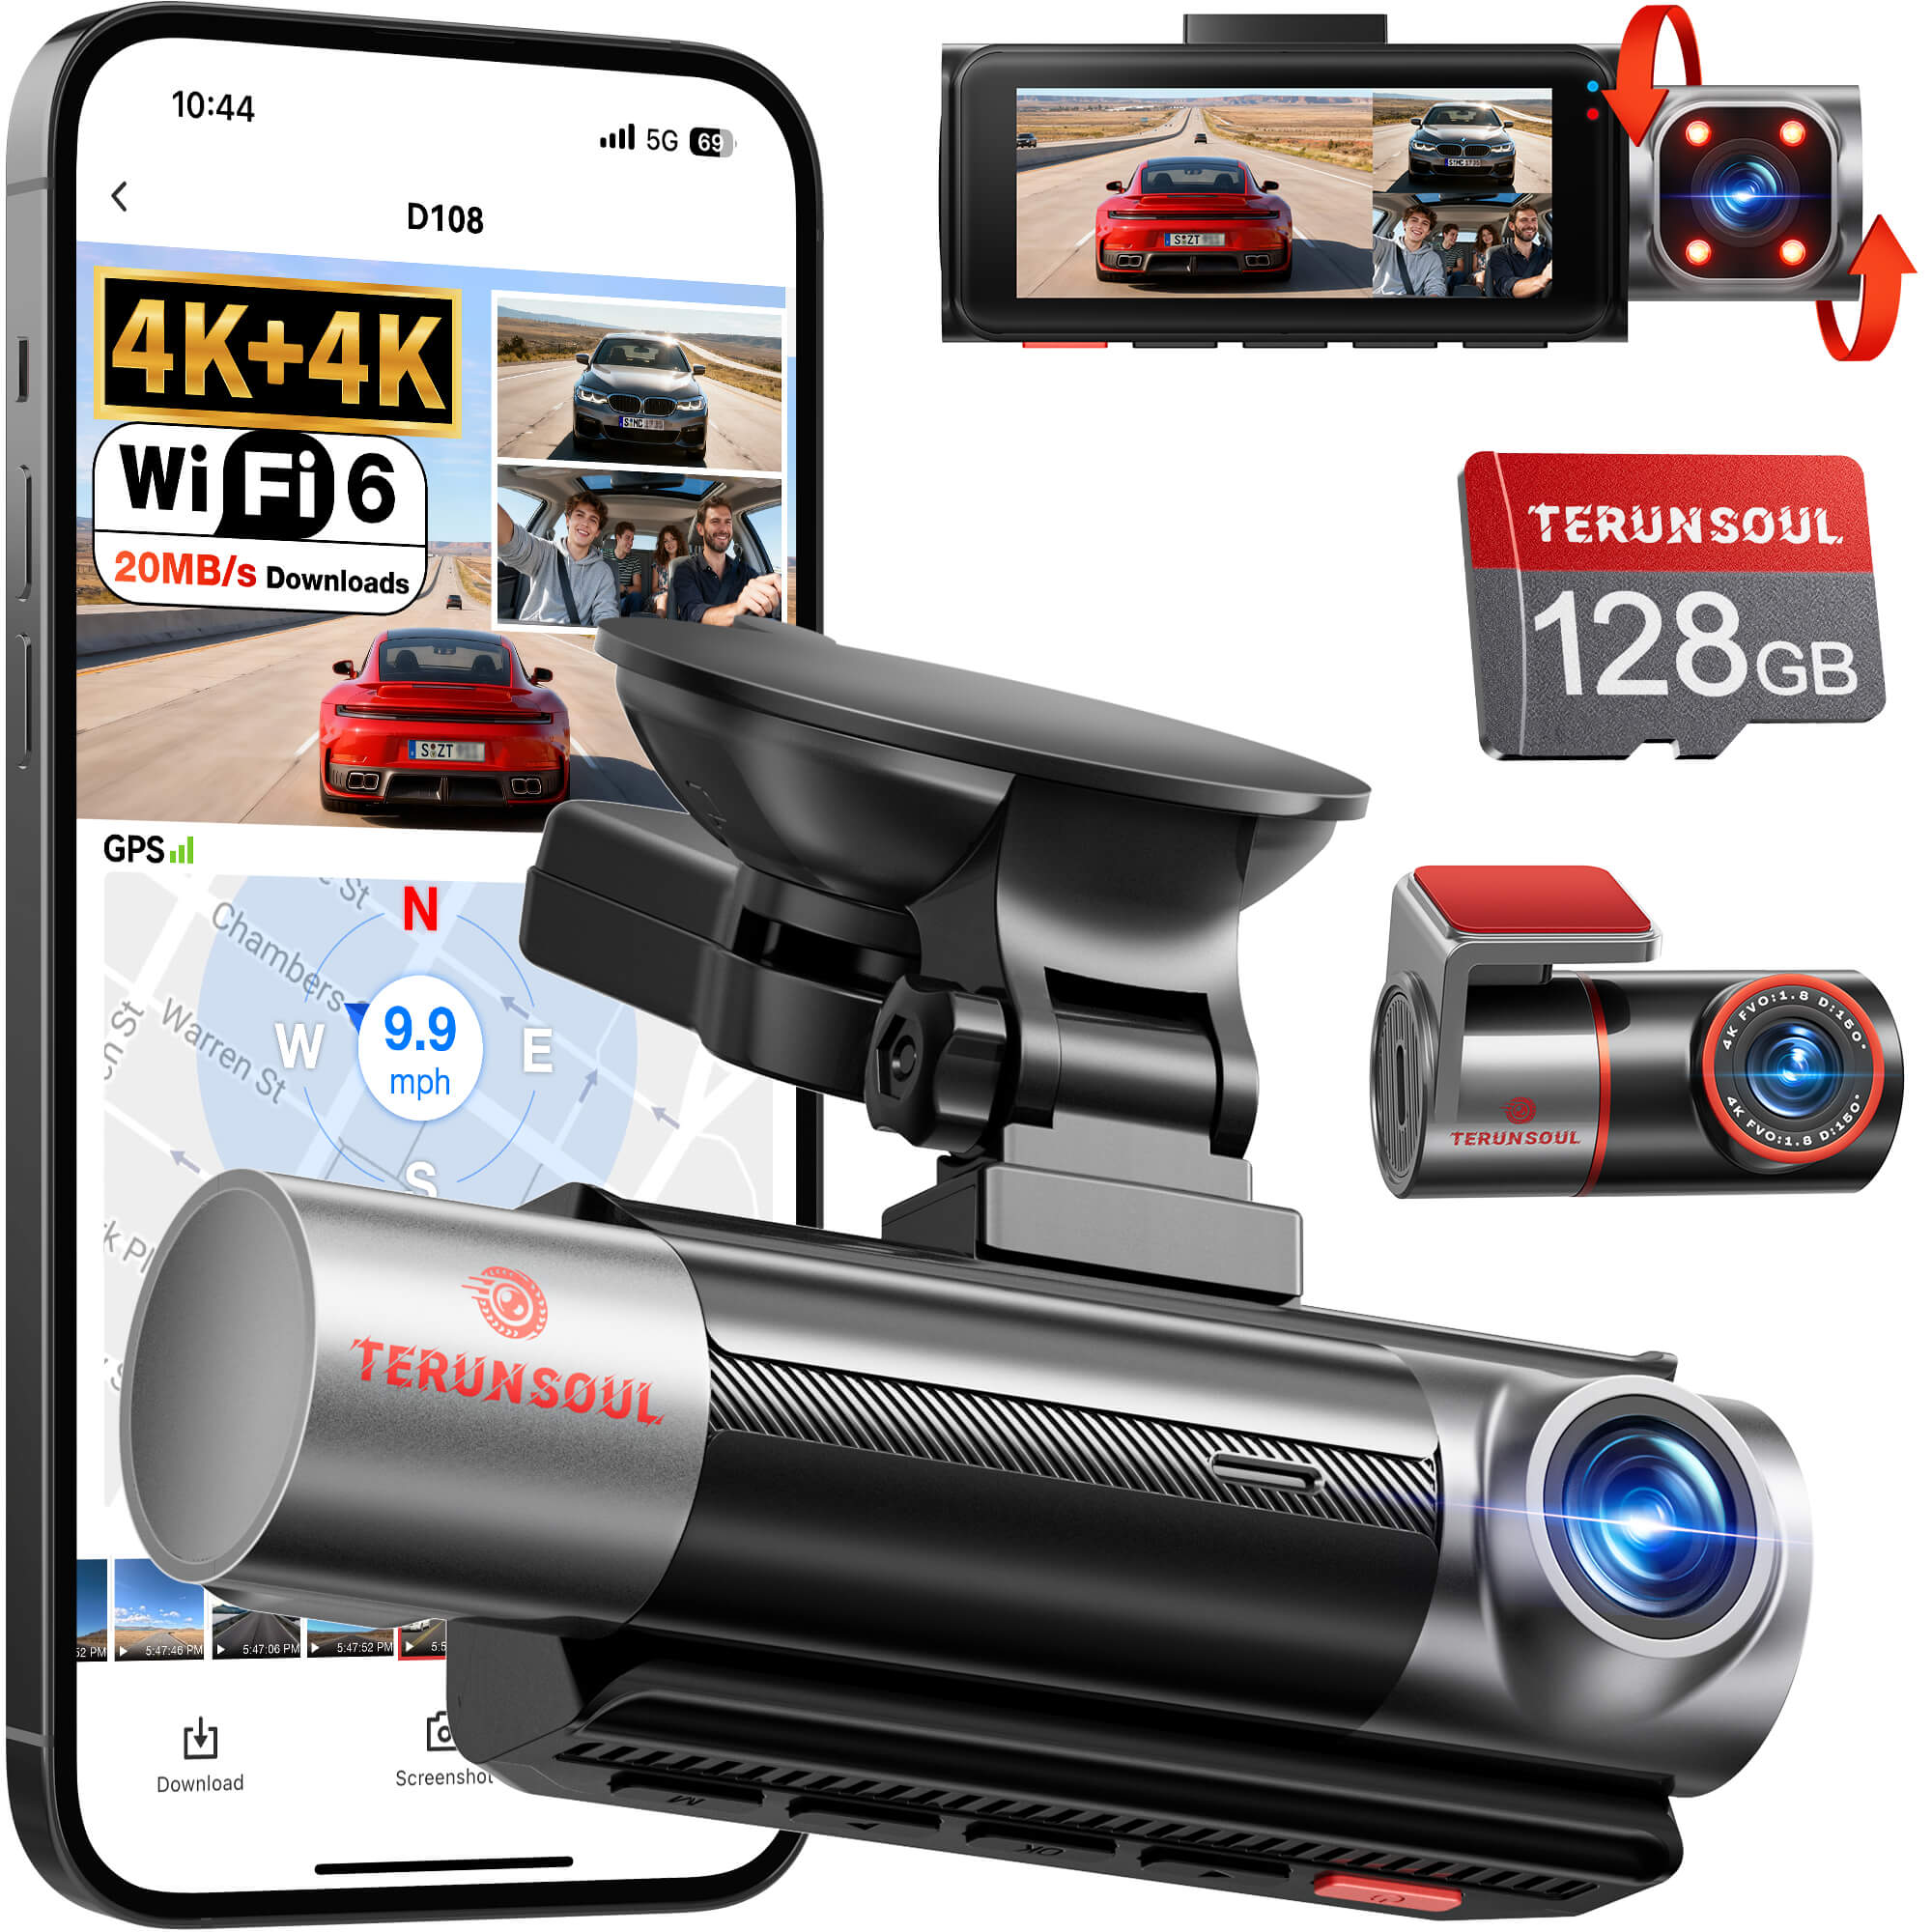

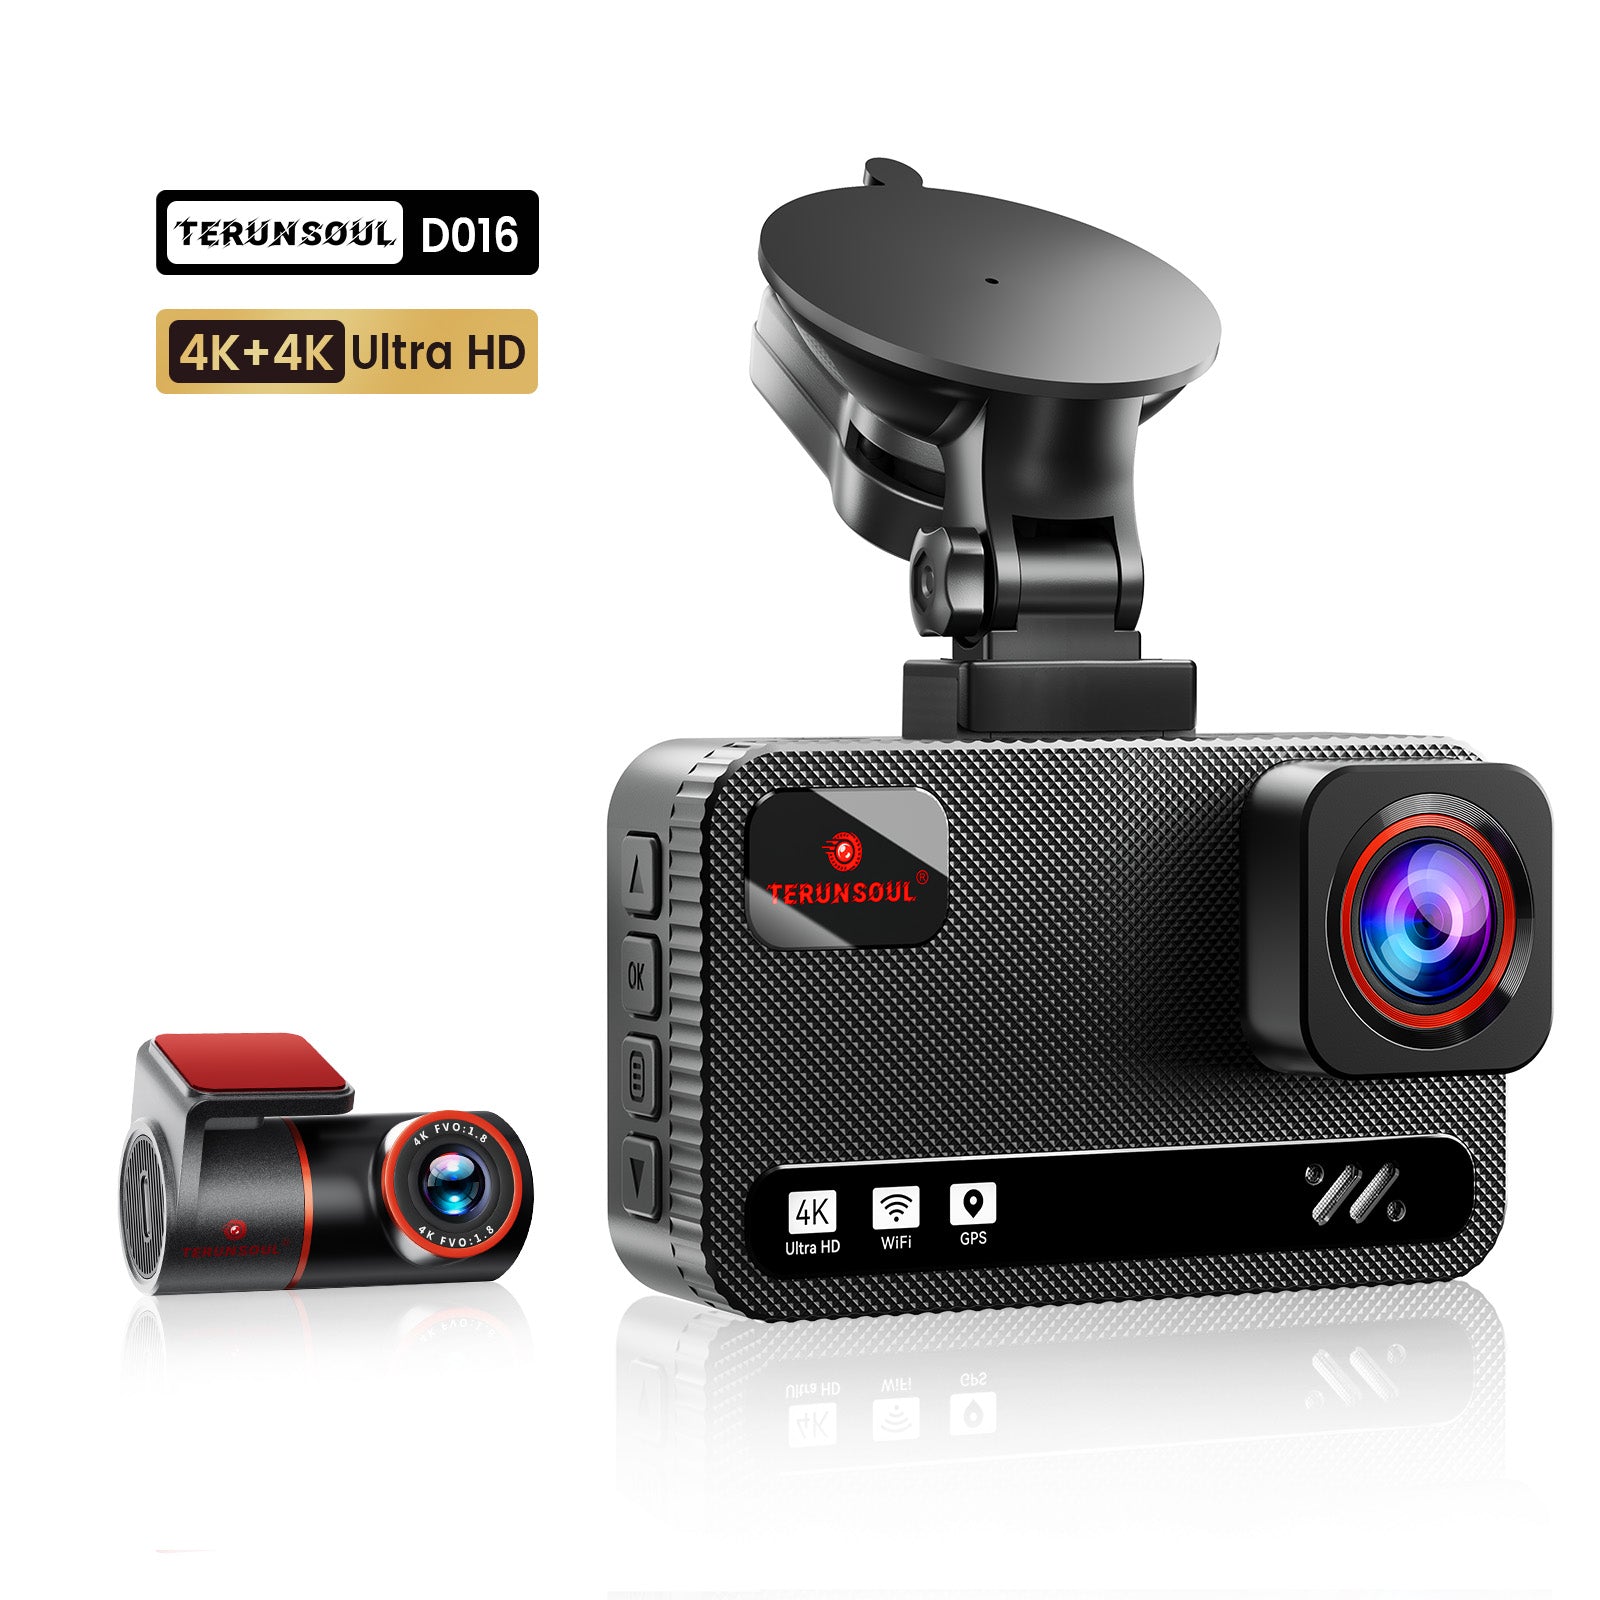


You just bought a Terunsoul D016 — front and rear dual 4K, with a free 128GB card. The value is hard to beat. But when you open the box and see all the components — main unit, rear camera, cables, mount, manuals — you might feel a bit overwhelmed: how exactly do I install this thing?
Don't worry. This guide will walk you through the entire installation process step by step. No professional tools needed. No trip to the mechanic. All you need is 15 minutes and a little patience.
Step 1: Unbox and check — make sure all components are included
When you open the box, you should find the following items:
-
Terunsoul D016 main unit (front camera)
-
4K rear camera
-
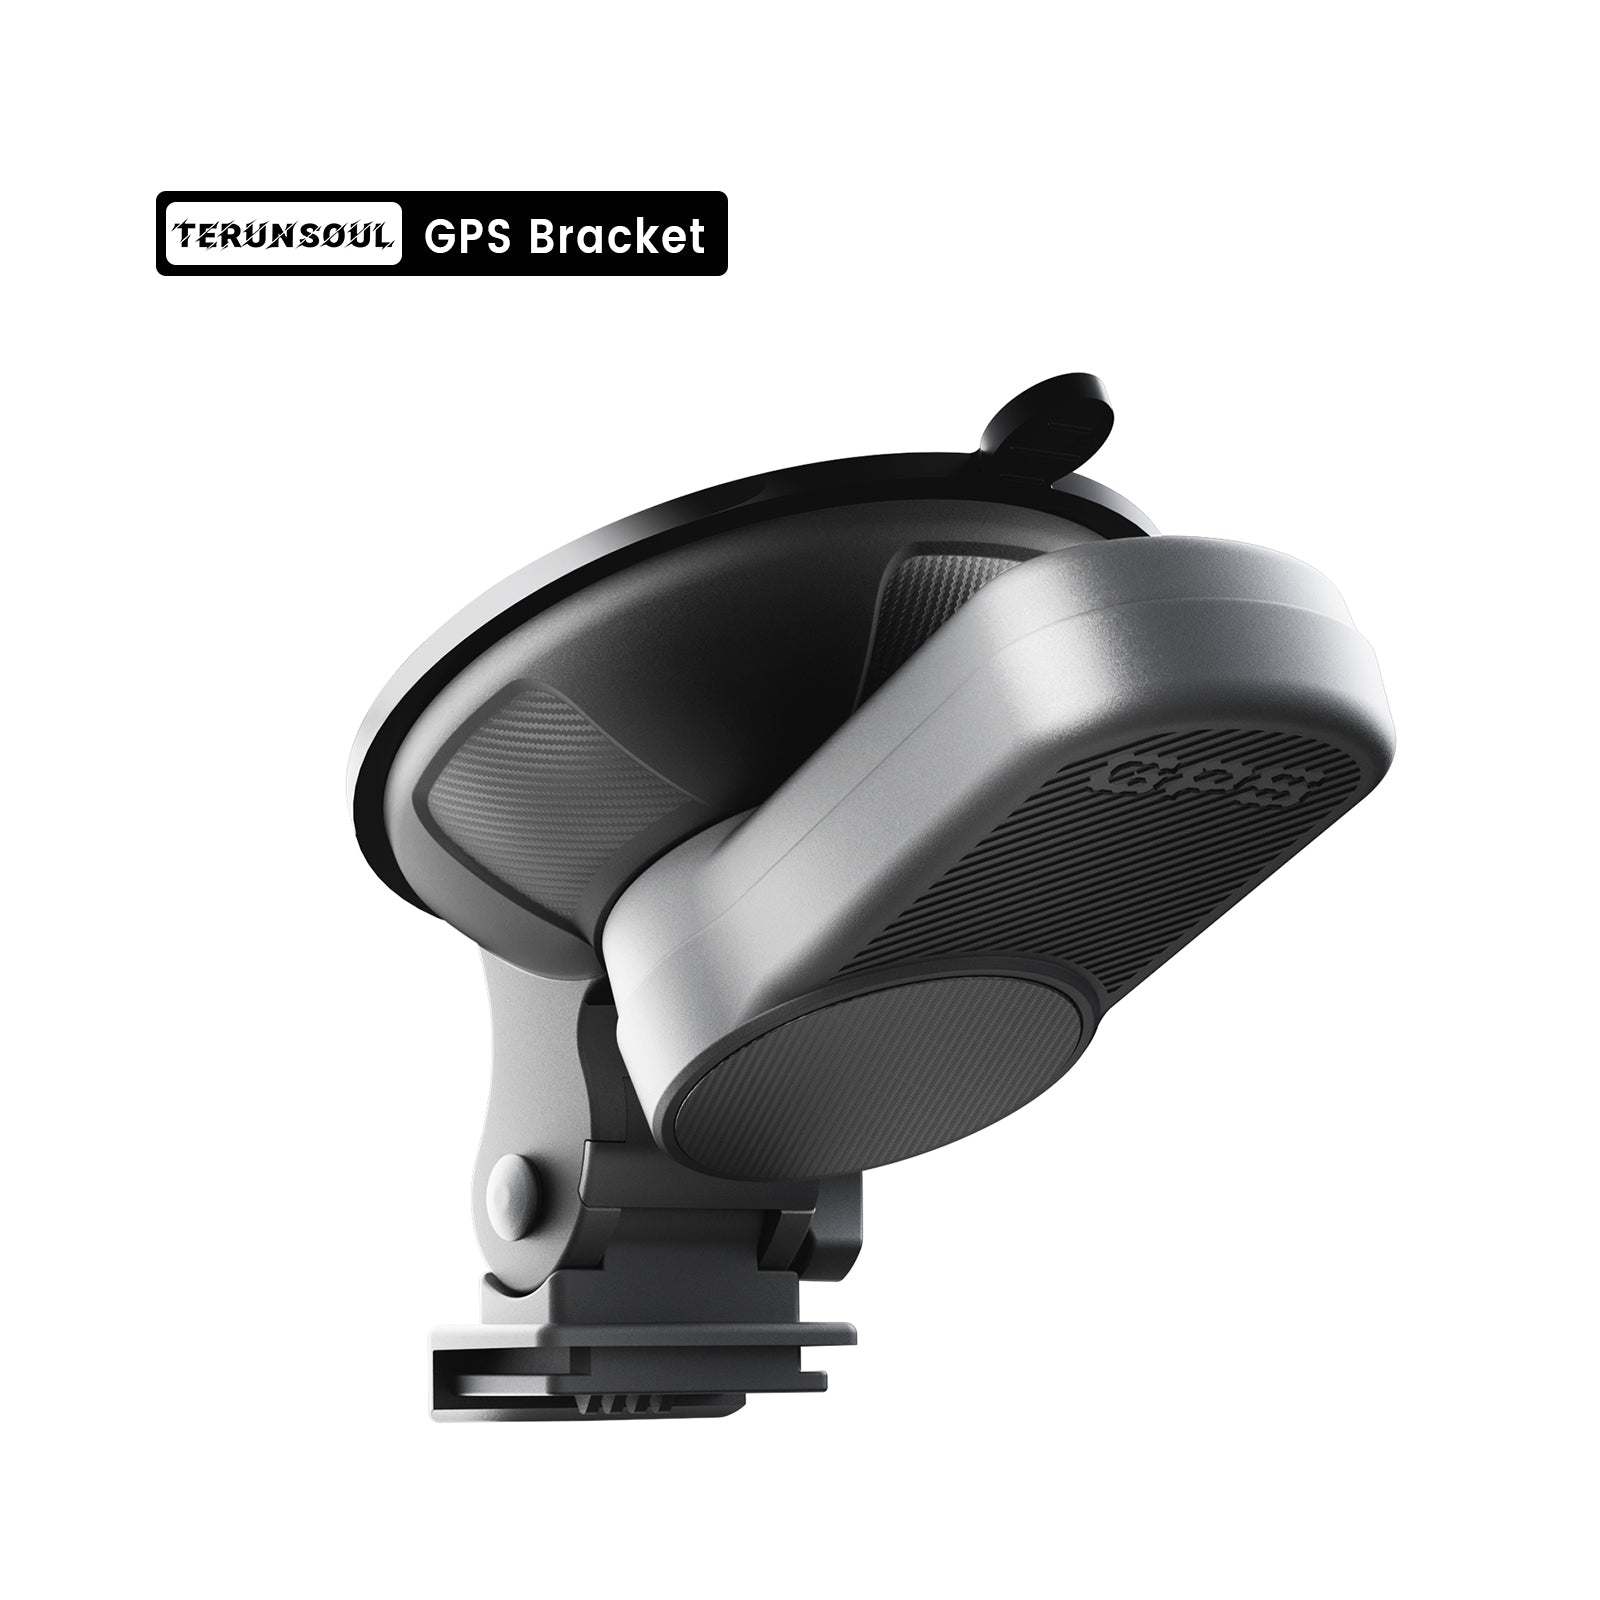
GPS suction cup mount
-
128GB microSD card (pre-installed in the main unit)
-
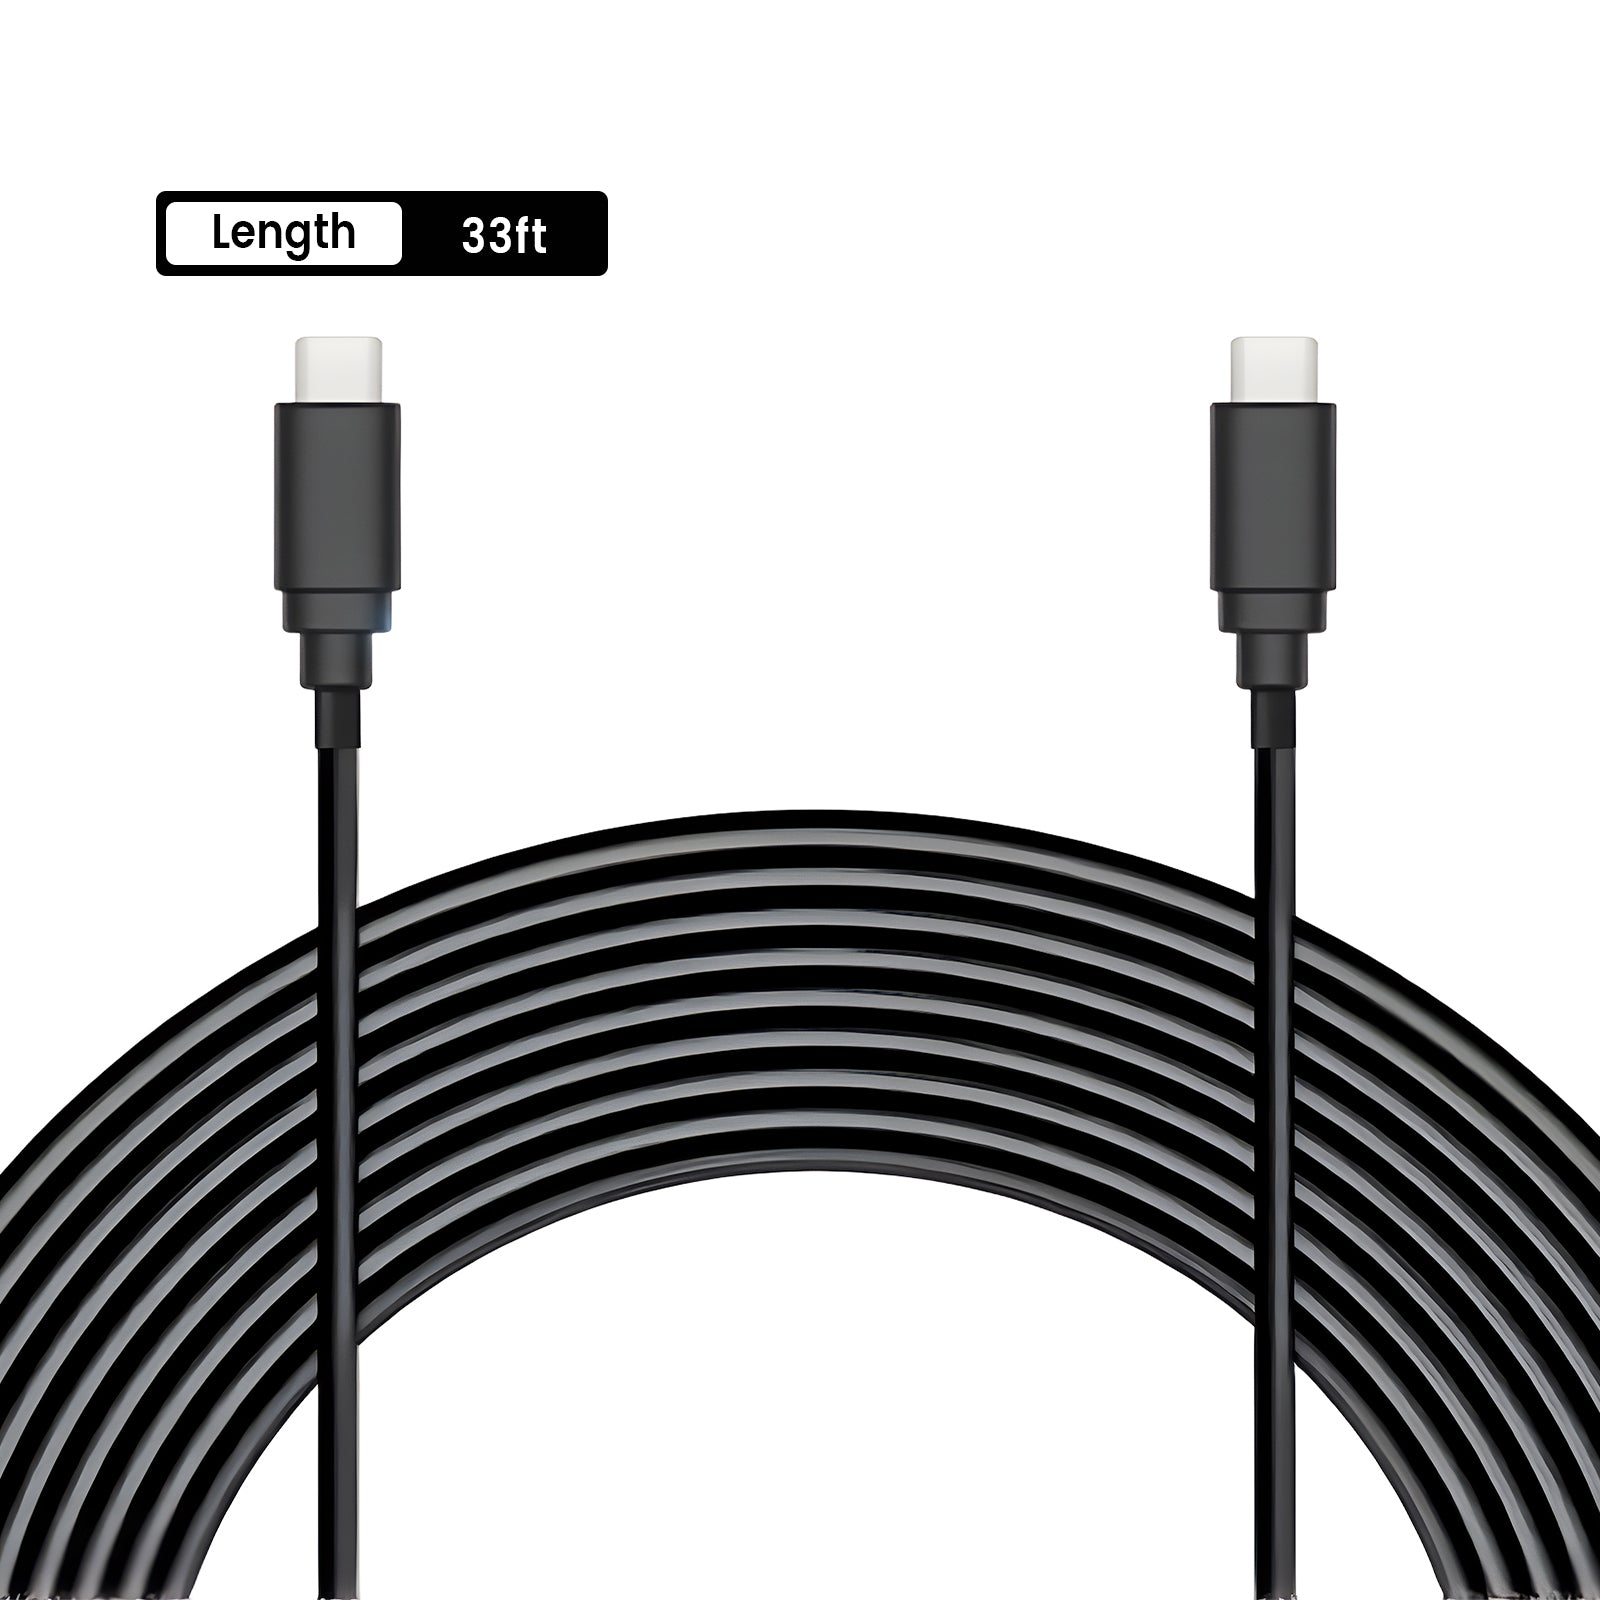
Rear camera extension cable (21 ft)
-
USB-C car charger (11 ft)
-
User manual, quick start guide
-
5 cable clips, trim tool
-
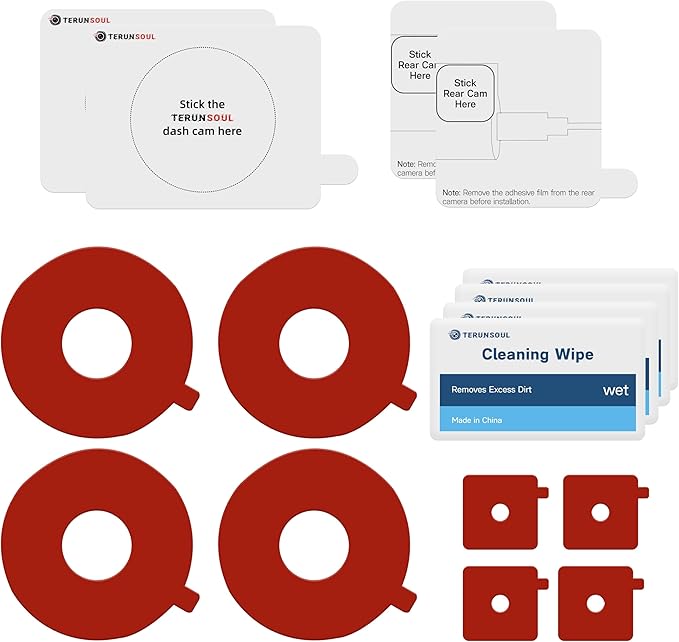
Electrostatic films, cleaning wipes
Once everything is confirmed, you're ready to begin.
Step 2: Pre-installation prep — format the memory card
The 128GB microSD card is already pre-installed in the main unit. Before first use, it's recommended to format the card within the dash cam's settings to ensure optimal performance. To do this: power on the unit, navigate to the system settings menu, select "Format SD Card" and confirm. The D016 supports microSD cards up to 512GB.
Step 3: Mount the front camera — choosing the right position matters
The mounting position of the front camera is critical. You need to secure it to the windshield without obstructing your driving view. The recommended position is directly behind or slightly to the passenger side of the rearview mirror — this way the dash cam barely interferes with your field of vision.
Installation steps:
-
Clean the glass: Use the included cleaning wipe to clean the area where you plan to mount the camera, ensuring no dust or oil residue.
-
Apply the electrostatic film: Attach the electrostatic film to the cleaned glass area — this prevents adhesive residue when you later remove the mount.
-
Secure the GPS suction cup mount: Press the GPS suction cup mount onto the electrostatic film and lock the suction switch.
-
Install the main unit: Slide the D016 main unit onto the GPS mount until you hear a click.
-
Adjust the angle: Sit in the driver's seat and adjust the camera angle to ensure the road ahead is fully captured.
Step 4: Install the rear camera — two options to choose from
There are two ways to install the rear camera, depending on your vehicle type and preference:
Option 1: Mount on the inside of the rear windshield (recommended)
This is the simplest and cleanest method. Secure the rear camera to the inside of the rear windshield using the included adhesive or suction mount, with the lens facing outward. Advantages: easy installation, no need to disassemble the vehicle, and the camera stays clean from rain and dust. Disadvantage: if your rear windshield has dark tint, night recording may be slightly affected.
Option 2: Mount near the exterior license plate bracket
If you want a better rear view or your rear windshield tint is too dark, you can mount the rear camera near the exterior license plate bracket. This provides clearer footage but is more difficult to install — you'll need to route the cable from inside the vehicle to the outside, and the camera will be exposed to the elements.
Note: The rear camera cable uses a USB-C connector that looks identical to the charging port. Make sure you connect it to the correct input — the rear camera goes to the "Rear Cam" port, and the power cable goes to the "Power" port.
Step 5: Route the cables — hide them for a clean interior
Routing the cables is the most patience-demanding step, but it's not complicated. You need to hide two cables — one for the rear camera extension and one for the power cable — along the vehicle's interior gaps.
Power cable routing (cigarette lighter power) :
-
Starting from the main unit, tuck the power cable along the top edge of the windshield into the headliner.
-
Run it down the A-pillar (the vertical pillars on both sides of the windshield), using the trim tool to gently pry open the panel and tuck the cable inside.
-
Continue down along the door seal, passing under the glovebox or along the side of the dashboard.
-
Finally, route the power cable to the cigarette lighter or USB port and plug in the car charger.
Rear camera extension cable routing:
-
Starting from the rear camera, route the cable along the top or side edge of the rear windshield toward the front of the car.
-
Run it along the roof edge and door seals all the way to the top of the front windshield.
-
Connect the extension cable to the rear camera port on the main unit.
Use the included 5 cable clips to secure the cables and prevent them from coming loose. Never tuck cables into airbag areas or pull on the headliner fabric.
Step 6: Connect power and test
After all cables are routed, plug the USB-C car charger into the cigarette lighter or USB port. Start the vehicle — the D016 will power on automatically. Check the following:
-
Is the front camera image clear and correctly angled?
-
Is the rear camera image displaying properly?
-
Is the GPS signal locked (GPS icon on screen)?
-
Is audio recording enabled (can be turned off in settings if desired)?
Note: If the rear camera doesn't display an image, check that the USB-C cable is plugged into the correct port — the rear camera must be connected to the "Rear Cam" port, not the power port.
Step 7: App connection and setup
The Terunsoul D016 supports 5.8GHz dual-band WiFi, allowing you to view live footage, download videos, and manage settings through the phone app.
-
Download the App: Search for “TERUNSOUL” in the Apple App Store or Google Play Store, or scan the QR code sticker on the dash cam unit.
-
Connect to WiFi: Enable WiFi in the dash cam settings, then connect your phone to the WiFi signal broadcast by the dash cam.
-
Open the App: Once in the app, you can view live footage, download recorded videos, and adjust settings.
About Parking Mode (Optional)
The D016 supports 24-hour parking monitoring. However, parking mode requires a separate hardwire kit (sold separately) — it is not included in the box. The hardwire kit connects the dash cam directly to the vehicle's fuse box, providing continuous power even when the engine is off. If you don't need parking mode, cigarette lighter power is more than sufficient.
Hardwire kit installation involves the vehicle's electrical system and should be performed by a professional or strictly according to the manual.
Summary
Installing the Terunsoul D016 isn't complicated. Here's a quick recap:
-
Unbox and check all components
-
Format the pre-installed 128GB card
-
Mount the front camera (behind the rearview mirror)
-
Install the rear camera (inside rear windshield or exterior)
-
Route and hide the cables (along headliner and A-pillar)
-
Power on and test
-
Connect the App and complete setup
The entire installation takes about 15 to 30 minutes. Once set up, the D016 will quietly guard every drive. The footage is sharp, clear, and smooth — front and rear dual 4K, with GPS and G-sensor automatically locking critical videos.
If you encounter any issues during installation, Terunsoul offers 18-month warranty and 24/7 customer support (support@terunsoul.com). Install with confidence, drive with peace of mind.
A Terunsoul D016 front and rear dual 4K dash cam costs just over $100, includes a free 128GB high-speed card, and is ready to use out of the box. It won't waste your 15 minutes — because from the moment you install it, it starts protecting every drive you take.
Choose Terunsoul D016. 15 minutes to install. Years of protection.

Hinterlasse einen Kommentar
Alle Kommentare werden vor der Veröffentlichung geprüft.
Diese Website ist durch hCaptcha geschützt und es gelten die allgemeinen Geschäftsbedingungen und Datenschutzbestimmungen von hCaptcha.