


You park on the street for a quick meal, and when you come back, there‘s a fresh scratch on your door. The car next to you is gone. No surveillance, no witnesses. The repair shop quotes $2,500, and your insurance says without finding the at-fault driver, you’re paying out of pocket. This scenario happens over 50,000 times a year in the U.S.. But your dash cam could have helped you avoid this — if you knew how to set up parking mode.
1. Why do you need 24-hour parking monitoring?
Parking lot accidents are far more common than you think. According to NHTSA data, parking lot accidents account for 20% of all U.S. car crashes, injuring about 60,000 people annually and killing about 500. Backing up is the number one cause (91%), and hit-and-runs are extremely common in these incidents. About 60% of respondents report feeling stressed while driving daily — a significant portion of that stress comes from the worry that “my car is parked out there, and I don‘t know if it’s being hit.”
24-hour parking mode is your car‘s “third eye” when you’re not around. It doesn‘t get distracted or fall asleep. It watches until you come back. A car parked on the street without parking mode is like leaving your wallet on a park bench — whether someone takes it or not is purely a matter of luck.
2. How does parking monitoring work?
The core principle of parking mode is simple: when your engine is off, the dash cam switches to a low-power standby mode. Once it detects an impact or motion, it immediately starts recording and locks the footage.。
According to studies, dash cams with parking mode installed have a 70% higher claim settlement rate. With video evidence, you can prove you weren‘t in the car and the other driver was at fault, and your insurance company will process your claim much faster.
But for parking mode to actually work, the most critical step is power supply. Your dash cam needs continuous power after the engine is off.
3. Three power supply methods—which one do you choose?
| Power Supply | Best For | Parking Mode Support | Installation Difficulty |
|---|---|---|---|
| Cigarette Lighter | Users who want simple installation and do not need parking mode | ❌ Not supported | ⭐ Easiest (5 minutes) |
| Hardwire Kit (Recommended) | Users who want 24-hour parking mode | ✅ Supported | ⭐⭐⭐ Moderate (requires some DIY skills) |
| Dedicated Battery Pack | Users who prefer not to touch the car’s electrical system and have a higher budget | ✅ Supported | ⭐⭐ Relatively easy, but more expensive |
If you only commute daily and park in your own garage, cigarette lighter power is enough. But if you frequently park on the street, in public lots, or worry about hit-and-runs, a hardwire kit is the only reliable option.
4. Hardwire Kit Installation: A Complete Step-by-Step Guide
Hardwiring sounds technical, but if you follow the steps, most people can complete it in 45 to 90 minutes. Here’s the most complete installation guide for 2026.
Step 1: Gather tools and materials
You‘ll need:
-
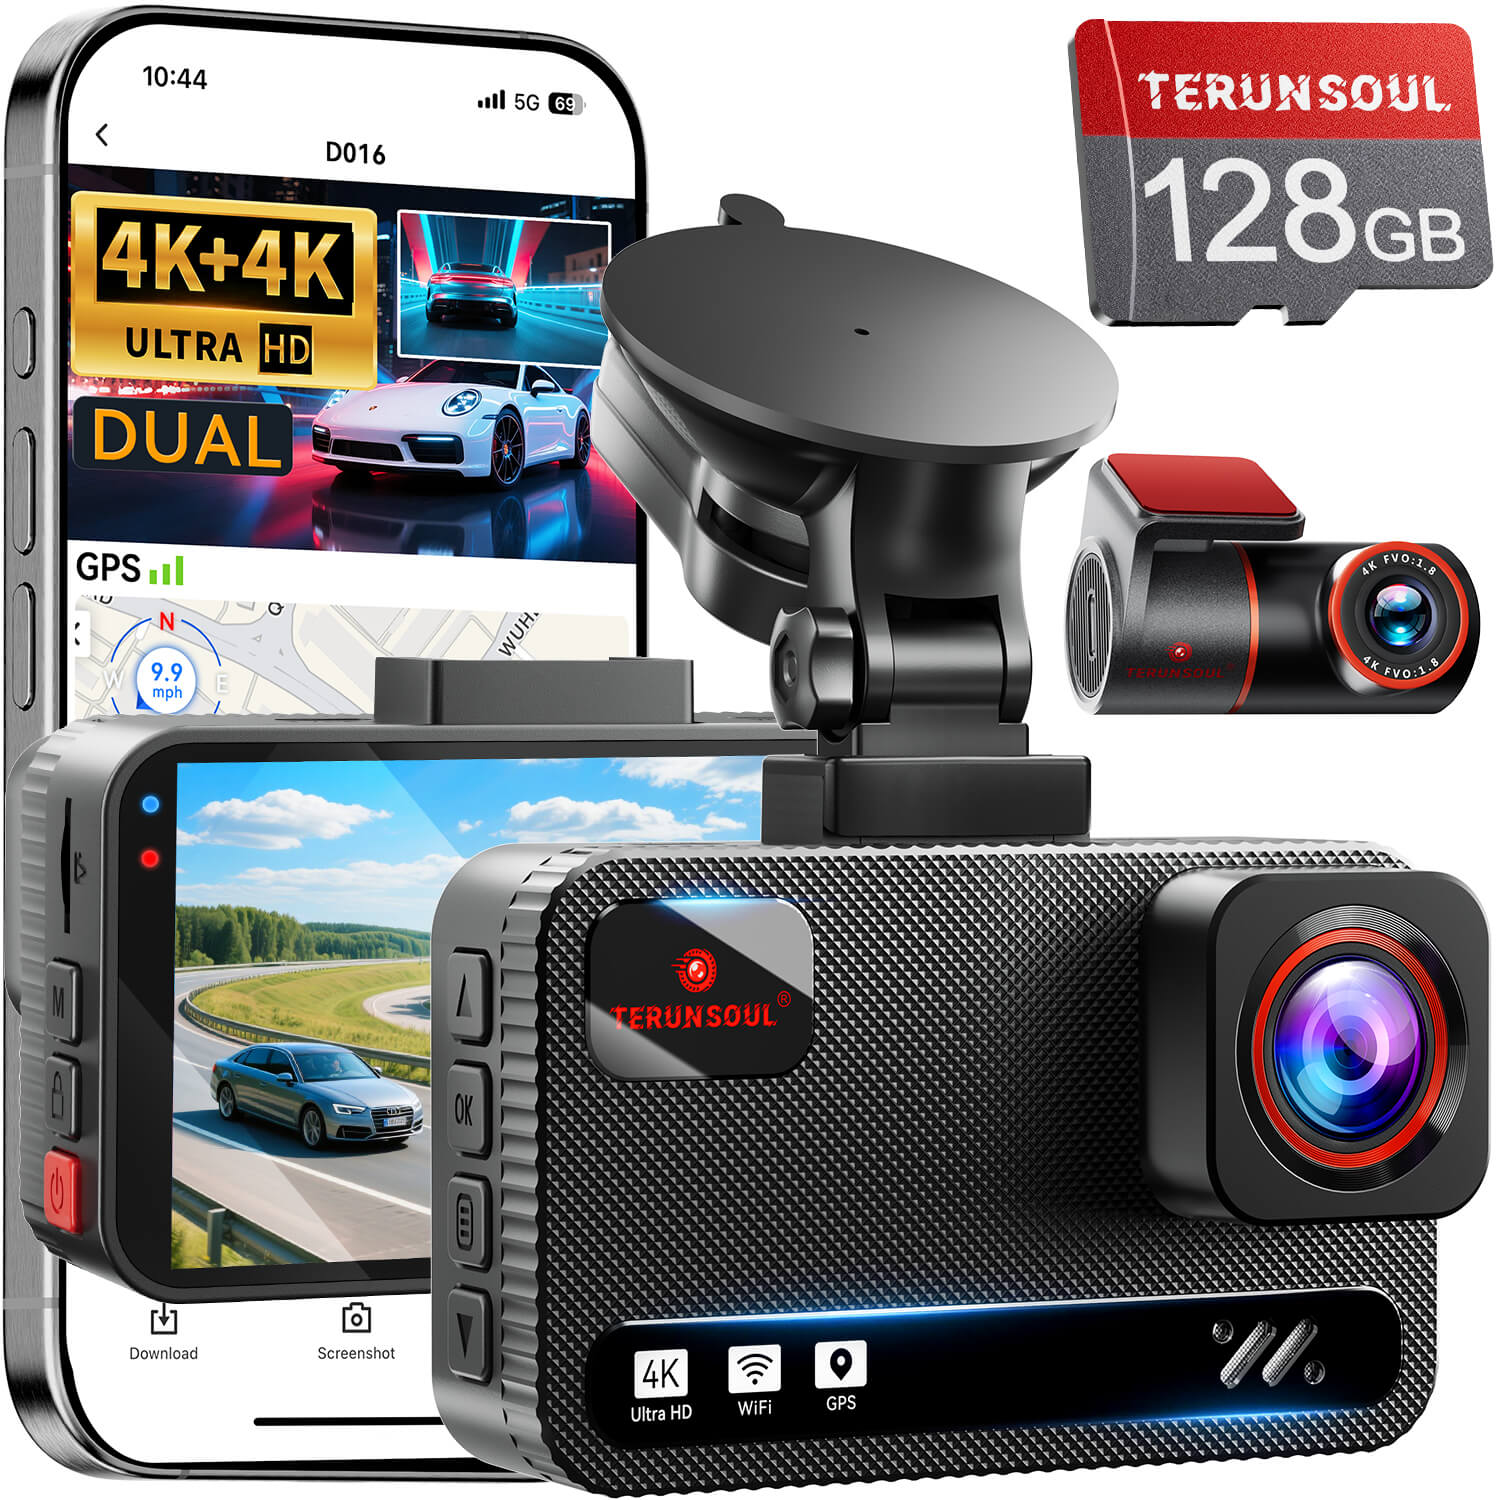
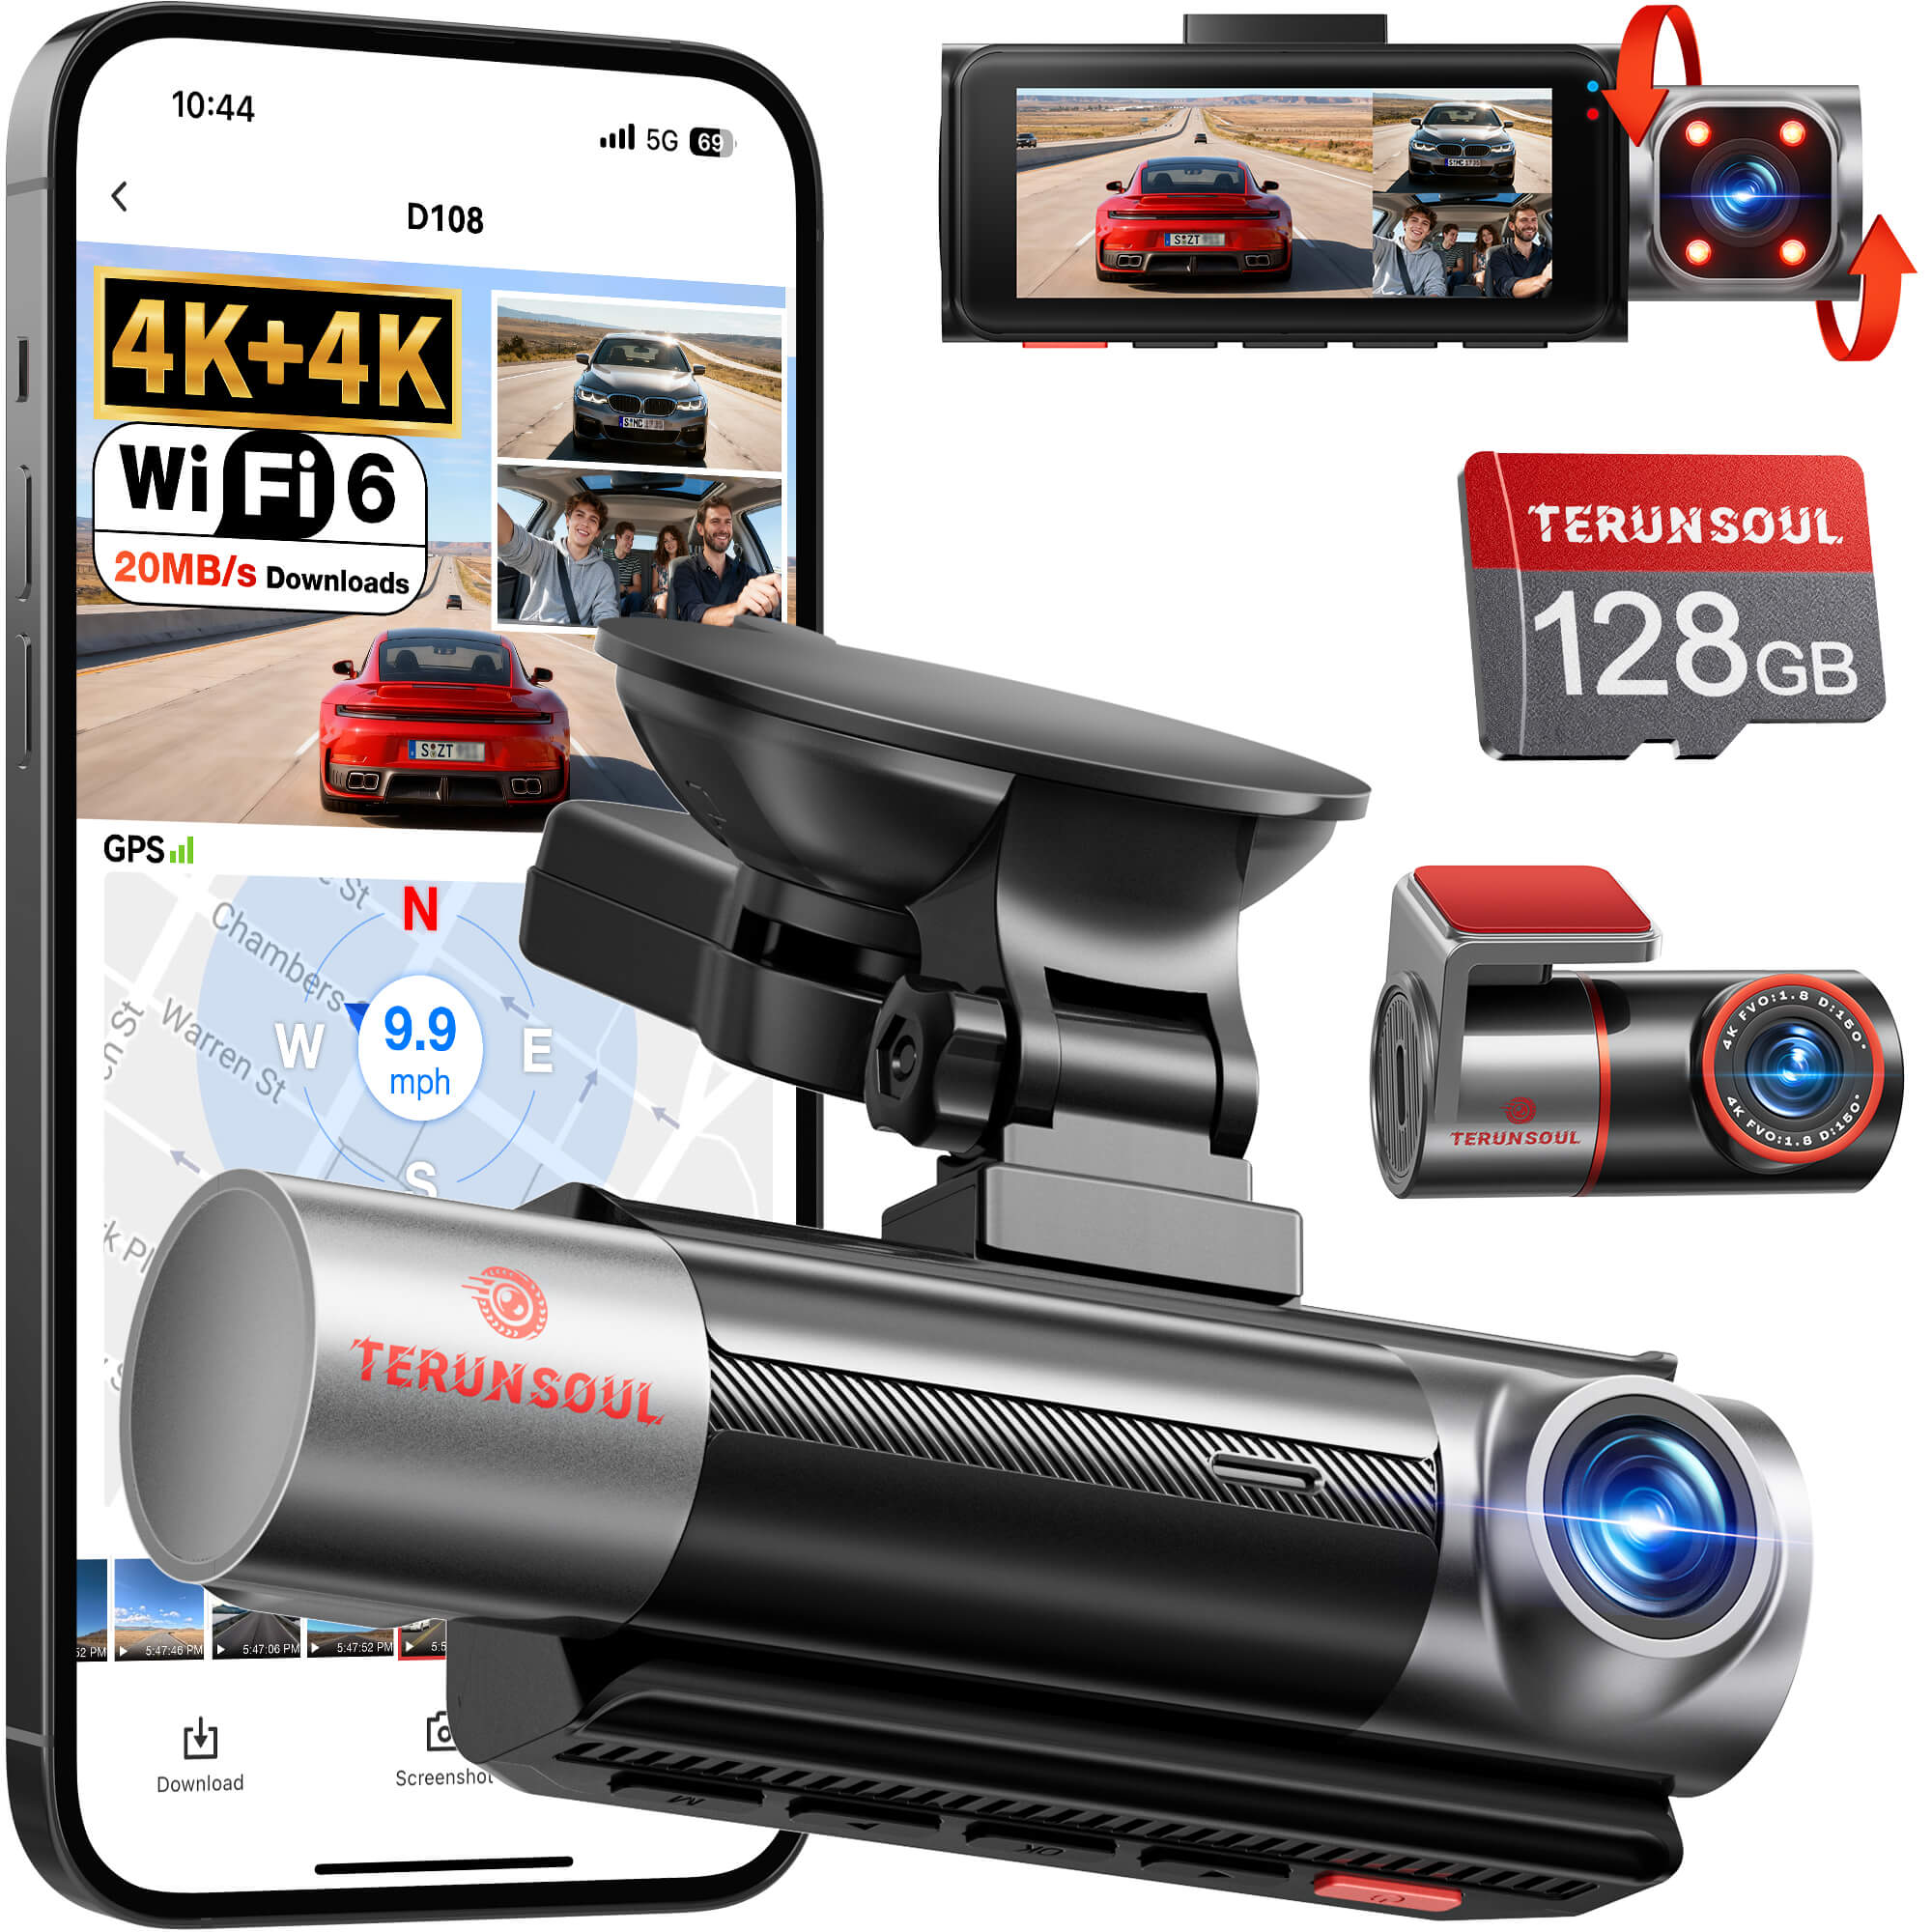
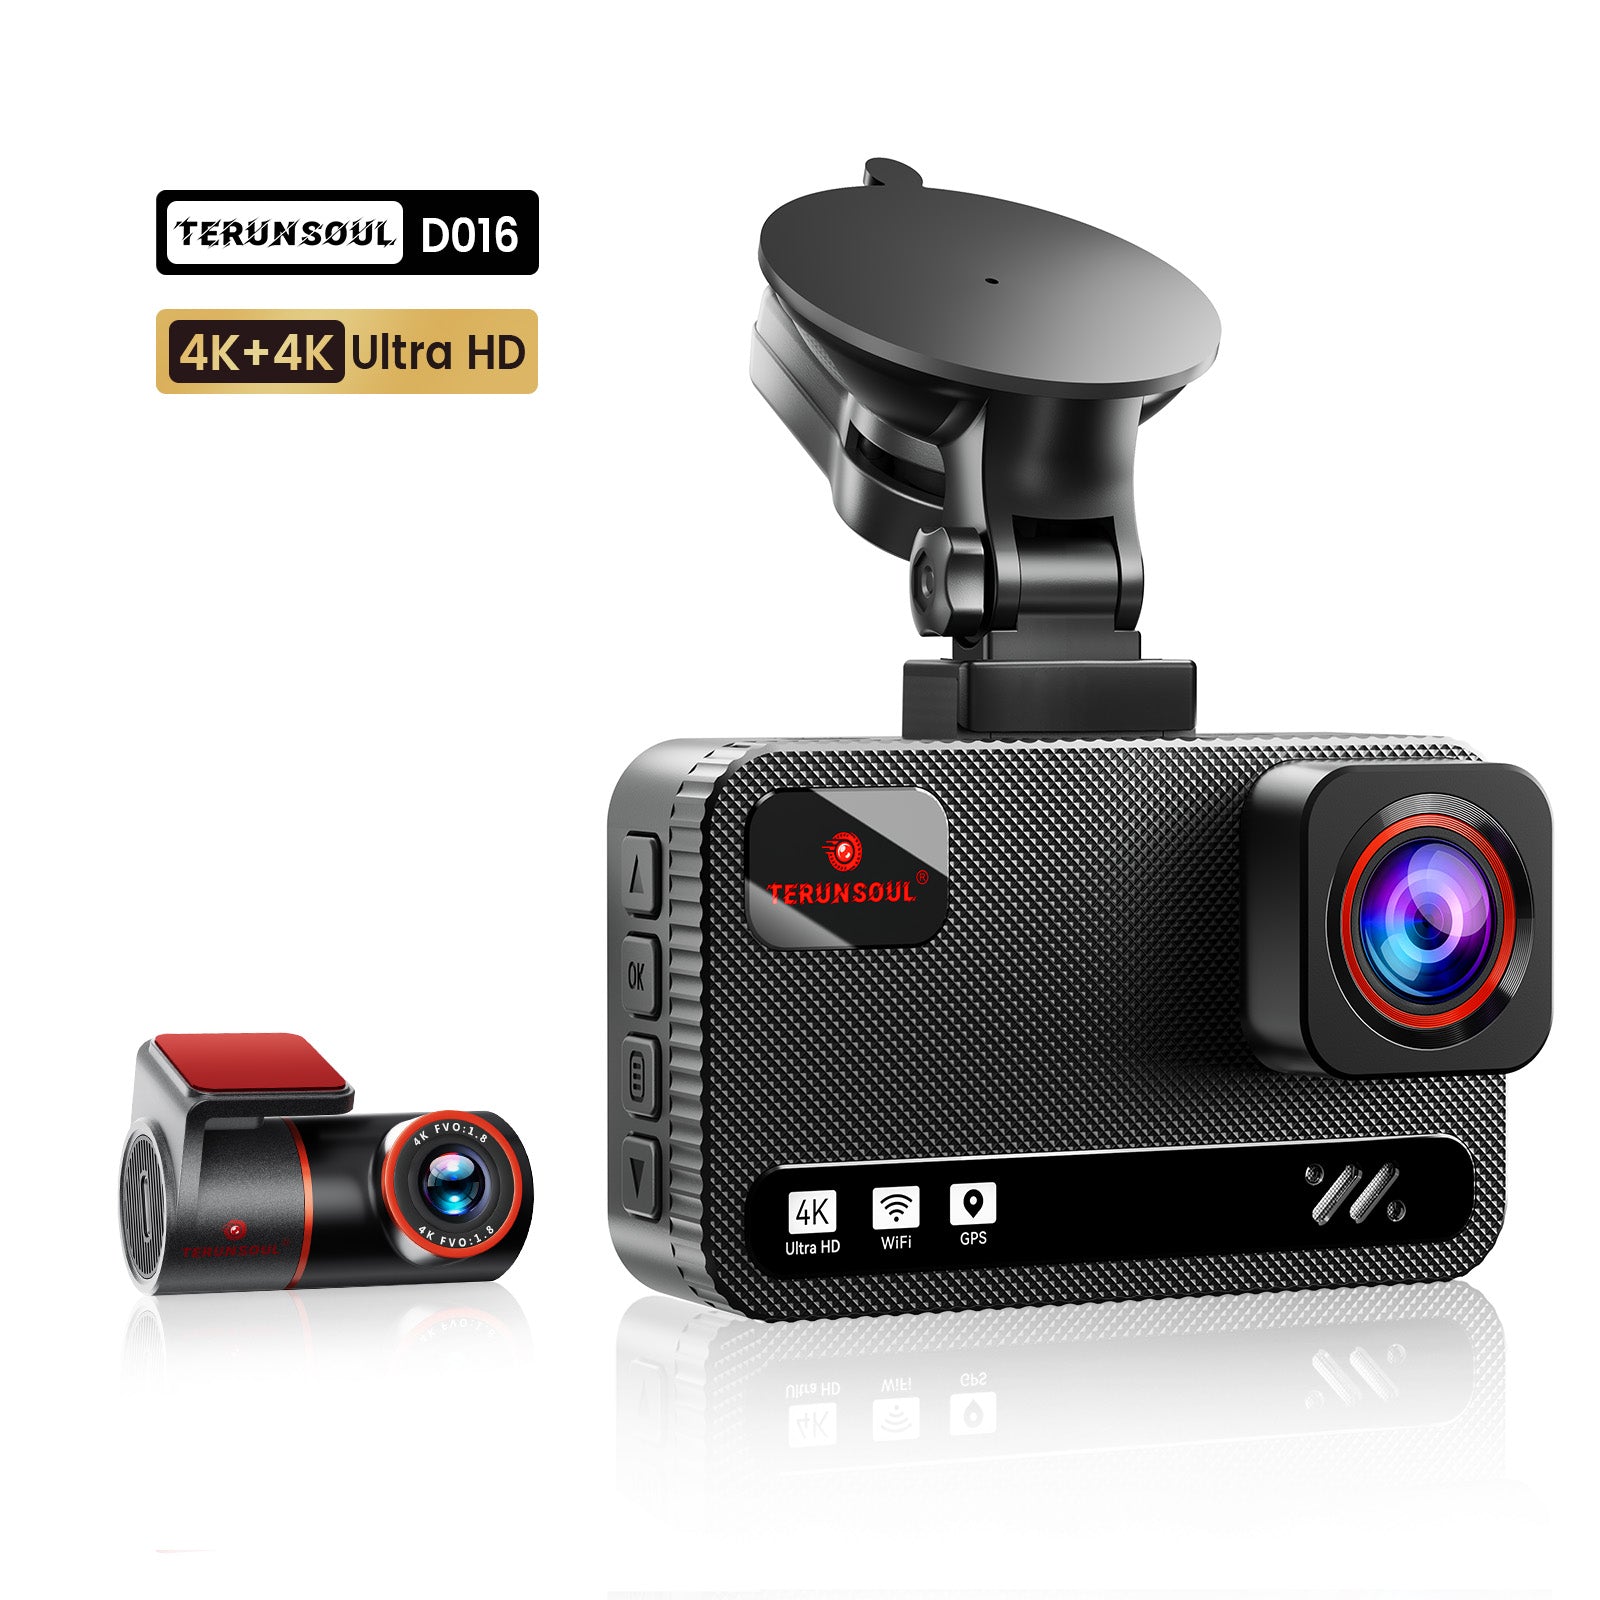
Terunsoul D016 dash cam (already supports 24-hour parking mode)
-
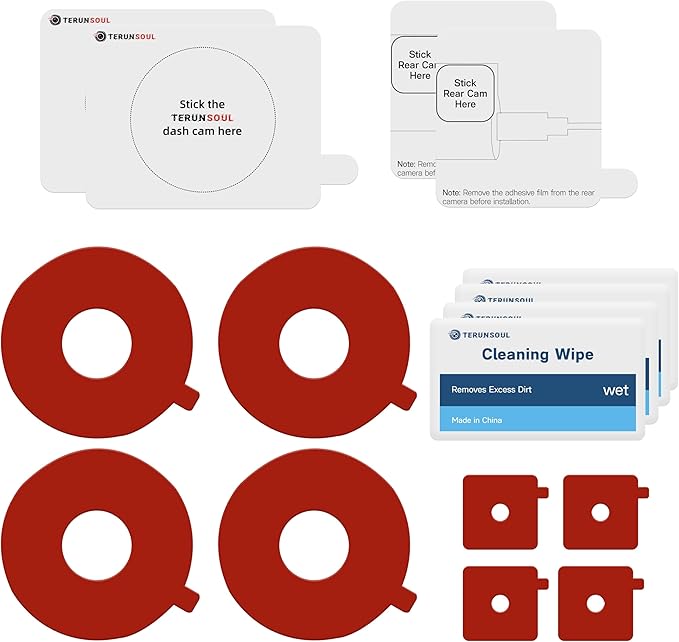
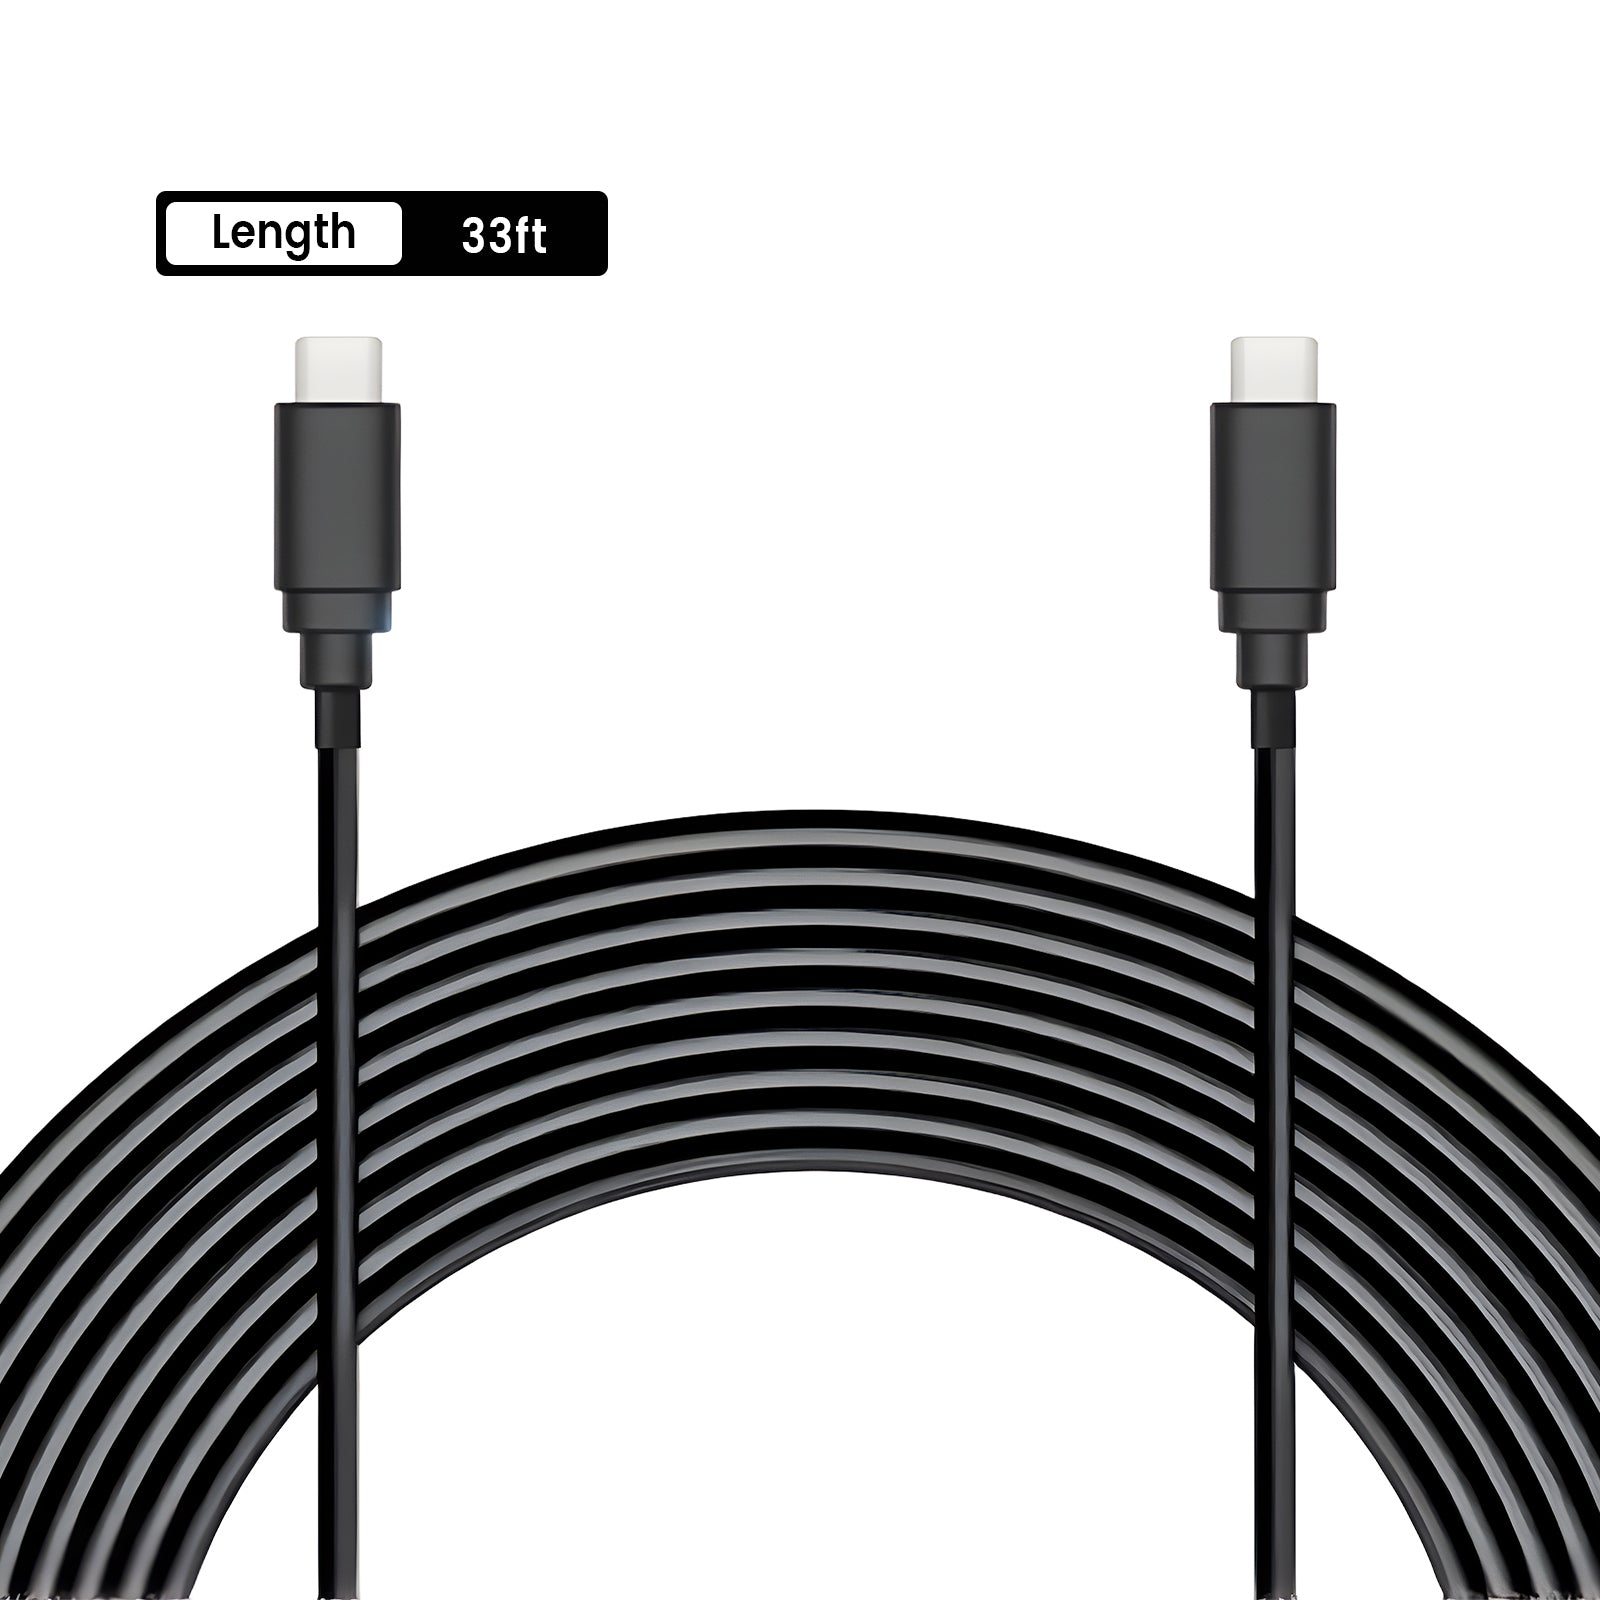
Dedicated hardwire kit (sold separately)
-
Fuse puller or needle-nose pliers
-
Multimeter (optional, for confirming fuse type)
-
Trim removal tool (for hiding cables)
-
Zip ties (for cable management)
Step 2: Locate your vehicle‘s fuse box
Most vehicles have the fuse box under the dashboard or behind the glovebox. Check your owner’s manual for the exact location. You only need the interior fuse box — no need to touch the one in the engine bay.
Step 3: Identify the two fuse types
The hardwire kit has three wires to connect:
-
Red wire (ACC): Connect to a fuse slot that powers on with the ignition. The dash cam will turn on automatically when you start the car and turn off when you shut it down.
-
Yellow wire (Constant power): Connect to a slot with continuous power. This is the “lifeline” for parking mode — the dash cam stays powered after the engine is off.
-
Black wire (Ground): Connect to a metal bolt on the vehicle‘s chassis.
Use a multimeter or the tester included with your hardwire kit to confirm which fuse is ACC and which is constant power. Test once with the ignition on, then again with it off.
Step 4: Install the fuse taps
The hardwire kit usually comes with fuse taps (add-a-circuit) that let you safely draw power without cutting existing wires. Insert the original fuse you removed into the tap, then plug the tap back into the original fuse slot.
Step 5: Route the cables
Route the cables along the edge of the headliner and inside the A-pillar trim. Use the trim removal tool to gently pry open the panels, tuck the wire inside, and snap the panels back. Keep the wires completely hidden — it looks cleaner and prevents them from getting snagged.
Step 6: Connect the dash cam and test
Plug the hardwire kit’s output into the Terunsoul D016‘s power port. Start the vehicle and confirm the dash cam powers on automatically. Turn off the ignition and confirm it enters parking mode (there’s usually an on-screen indicator). Find the “Parking Mode” or “Time-Lapse Recording” option in the menu and enable it.
5. The most important step: Setting the voltage cutoff threshold.
This is the most overlooked but critical step in the entire installation. If set incorrectly, your dash cam could drain your battery and leave you stranded the next morning.
The hardwire kit has a built-in low-voltage protection feature. When the car battery voltage drops to the set threshold, it automatically cuts power to the dash cam, ensuring you can still start the vehicle.
| Vehicle Type | Recommended Cutoff Voltage |
|---|---|
| Standard 12V lead-acid battery | 11.8V |
| AGM battery (common in newer vehicles) | 12.0V |
| Tesla / EV 12V auxiliary battery | 12.2V |
| Start-stop system vehicles (EFB/AGM) | 12.0V – 12.2V |
The voltage cutoff can be adjusted via a physical switch on the hardwire kit or in the dash cam‘s menu — usually labeled “Low Voltage Cutoff,” “Battery Protection,” or “Parking Mode Voltage”
6. Three operating modes for parking monitoring
Most dash cams that support parking mode, including the Terunsoul D016, offer the following three modes:
-
Collision Detection Mode (G-sensor Mode): Recording is triggered only when the G-sensor detects a physical impact. This mode is the most power- and storage-efficient, though minor scrapes or low-speed collisions might not trigger it.
-
Motion Detection Mode: Recording is triggered when the camera detects moving objects in the frame. Suitable for areas with moderate activity, though swaying trees or changing light and shadows may cause false triggers.
-
Time-Lapse Recording Mode (Recommended): Continuously records at a low frame rate (e.g., 1 frame per second) with very low power consumption. Upon detecting a collision, it automatically switches to the normal frame rate and locks the full video footage surrounding the event. The Terunsoul D016 supports time-lapse recording, allowing for 24 hours of continuous recording in low-power mode at settings of 1, 2, or 5 frames per second.
-
Impact Detection Mode (G-sensor mode): Triggers recording only when the G-sensor detects a physical impact. Most power-efficient and storage-efficient, but minor scrapes or slow-speed collisions may not trigger it.
-
Motion Detection Mode: Triggers recording when the camera detects movement in the frame. Good for moderate-traffic areas, but trees moving or shifting shadows can trigger false recordings.
-
Time-Lapse Mode (Recommended): Continuously records at a low frame rate (e.g., 1 frame per second) with very low power consumption. When an impact is detected, it automatically switches to normal frame rate and locks the full video around the event. The Terunsoul D016 supports time-lapse recording, running continuously for 24 hours at low power, capturing 1/2/5 frames per second.
7. Advantages of Terunsoul D016 Parking Monitoring
The Terunsoul D016 already supports 24-hour parking mode out of the box. You just need to purchase a hardwire kit separately, follow the steps above, and you’ll have continuous protection after you turn off the engine.
D016‘s parking mode advantages:
-
Time-lapse + impact detection dual mode: Low-power time-lapse recording normally, auto-locks critical footage on impact
-
Low-power design: Extremely low power consumption in parking mode, won’t over-drain your battery
-
G-sensor auto-lock: Automatically locks footage upon impact, never overwritten
-
128GB large storage: Parking mode footage loops automatically; oldest files overwritten when full
-

Conclusion
Parking mode isn‘t a “nice-to-have” feature — in 2026, it should be standard on every dash cam. Parking lot accidents and hit-and-runs happen every day, and all it takes is 30 minutes to install a hardwire kit to add an extra layer of protection to your car when you’re not around. A Terunsoul D016 plus a hardwire kit costs just over $100 total. And one avoided parking lot scrape could save you $2,500 in repair costs.
Choose Terunsoul D016, install the hardwire kit, and let parking mode be your car‘s invisible guardian.



Leave a comment
All comments are moderated before being published.
Este site está protegido pela Política de privacidade da hCaptcha e da hCaptcha e aplicam-se os Termos de serviço das mesmas.