






D018 Installation Guide
D018 Installation Guide: Step-by-Step Setup for Reliable Results
The D018 Installation Guide is designed to help you complete setup with confidence and avoid common mistakes. Before starting, check that all parts, tools, and required accessories are included in the package. Read through the full guide first so you understand the process from start to finish. Make sure the installation area is clean, stable, and suitable for the product. It is also important to confirm compatibility with your system or environment. Taking a few minutes to prepare properly can save time later and reduce the chance of errors during installation.
Step-by-Step Installation Process
To install the D018 correctly, follow each step in order and do not rush the process. Begin by placing the unit in the correct position and securing any mounting or connecting points as instructed. Use the recommended tools only, since the wrong equipment may cause damage or lead to poor performance. Tighten all fasteners carefully, but avoid over-tightening. Connect cables or related components one at a time and verify that each connection is firm and properly aligned. If the guide includes setup settings, adjust them according to the recommended values for the best results and stable operation.
Final Checks and Safe Operation
After installation, perform a full inspection to make sure everything is installed correctly and safely. Check all connections, fasteners, and placement points before turning the unit on. If the D018 includes a test mode or startup check, use it to confirm that the system is working as expected. Listen and look for any signs of loose parts, unusual noise, or error messages. If something does not look right, stop immediately and review the installation steps again. A careful final check helps protect the product, improves performance, and supports long-term reliability.
Prepare for Installation
Before starting the D018 Installation Guide process, take a few minutes to prepare your workspace and review every part included in the package. A clean, flat area helps prevent damage and makes the setup easier to manage. Check the manual, confirm all required tools are available, and make sure the D018 unit is complete with no missing items. It is also important to read any safety notes before handling the product. Careful preparation reduces mistakes, saves time, and gives you a smooth start from the beginning. Following this step helps ensure the installation is safe, efficient, and ready for the next stage.
Follow the Main Installation Steps
Once everything is ready, begin the main installation by following the instructions in order and matching each part with the correct position. The D018 Installation Guide is designed to help users complete the process without confusion, so move slowly and verify each connection before continuing. If the product requires mounting, alignment, or fastening, make sure each point is secure but not over-tightened. Keep cables, fittings, or components organized as you work. This careful approach helps avoid damage and improves the final performance of the product. Accurate installation is key to long-term reliability and a better overall user experience.
Test and Confirm Proper Operation
After installation is complete, the next step is to test the D018 and confirm that it works as expected. Turn on the unit or system and look for any signs of loose parts, unusual noise, or error messages. If the product includes settings or adjustments, review them carefully and make sure they match the recommended configuration. The D018 Installation Guide emphasizes checking the full setup before regular use, since this can help catch small issues early. If something does not look right, stop and recheck the steps instead of forcing the product to operate. A final test gives confidence that the installation was done correctly and safely.
Maintain the Installation for Long-Term Use
Proper installation is only the first step. To keep the D018 performing well, inspect it regularly and clean the surrounding area as needed. Dust, loose fittings, or worn parts can affect performance over time, so simple maintenance is important. Review the installation points from time to time to make sure everything remains secure. If the unit is moved or adjusted, repeat the setup checks to confirm it is still aligned and stable. Using the D018 Installation Guide as a reference for ongoing care can help extend the life of the product and reduce the risk of problems. Good maintenance supports safer operation and dependable results over time.
D018 Installation Guide
D018 APP Download
DO18 video download sharing
D018 WIFI - Startup Tutorial
D018 Commit Log
D018 Factory Reset
D018 Account Registration Tutorial
D018 Format memory card
D018 Time Setting
D018 Machine - Connection Tutorial
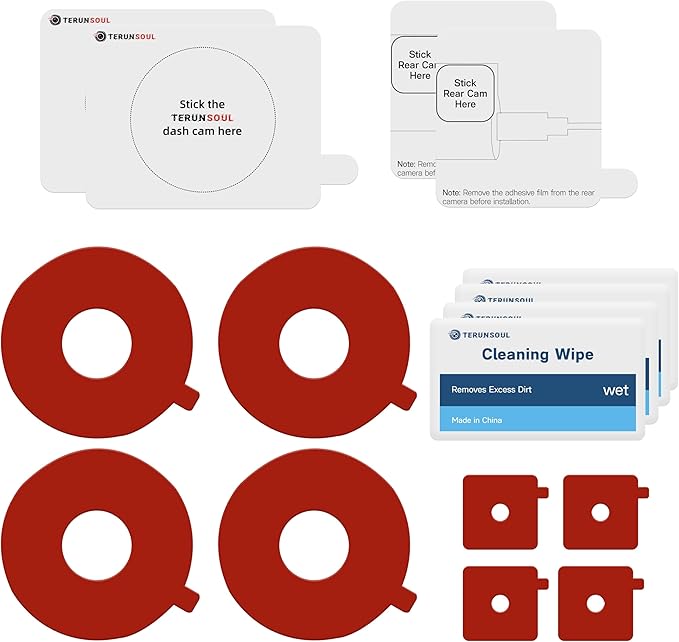
D018-3M Adhesive Bracket Installation
D018-Static Sticker + 3M Adhesive Pad Bracket Installation Steps